You CAN BUILD A COMPUTER
LET US HELP you WITH THAT
Welcome to Learn How to Build a Computer.
Latest Buying Guides
-
Best Gaming Headset Under $200
 Are you looking for a premium gaming headset? Do you need an upgrade to a 200$ gaming headset? There’s really a wealth of options of gaming headsets priced under 200$. In this post, I’m going to look at some gaming headsets in the 100 – 200$ price range. Best Gaming Headset Under $200 # Preview … Read more
 -
Best Gaming Keyboards Under 100
Having a good keyboard is the pinnacle for any gaming setup. Gaming keyboards are likely to be better than most non-gaming keyboards. You can get a good gaming keyboard that is under $100 if you do the research. That is where I come in. Let’s go! Best Gaming Keyboards Under 100 (Updated List) # Preview … Read more


Latest Learning Posts
-
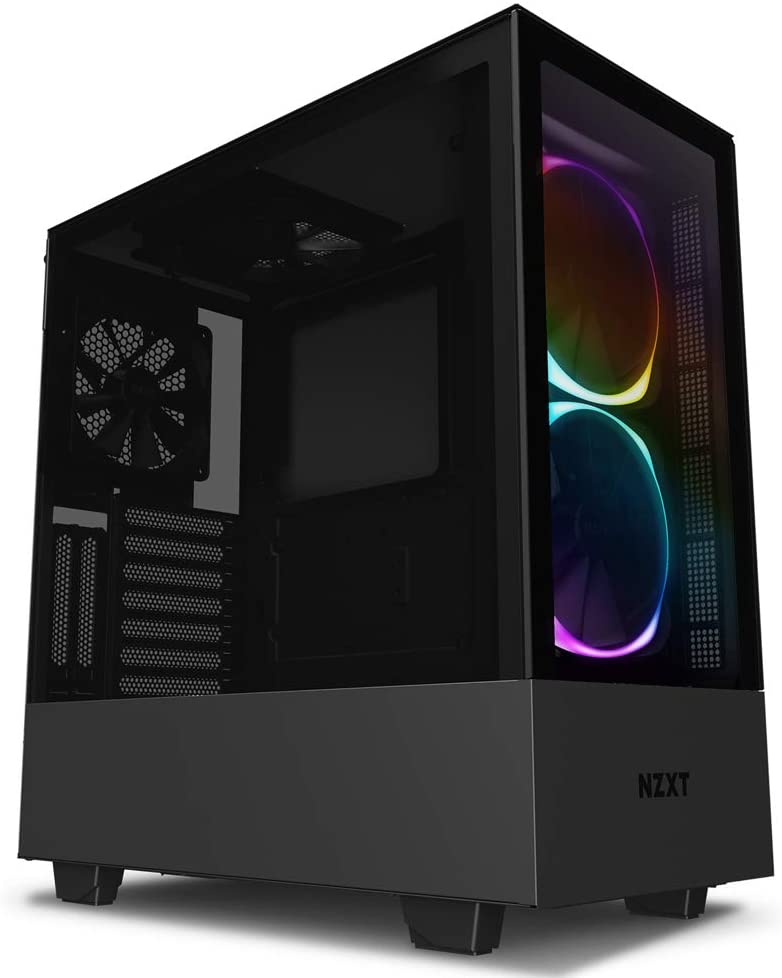
What is the Best Gaming PC Case
There are a lot of factors to consider when choosing the best gaming PC case. What type of graphics card will you be using? What type of motherboard? What kind of CPU? How many drive bays do you need? These are all important questions that need to be answered before making your purchase. In this … Read more
-
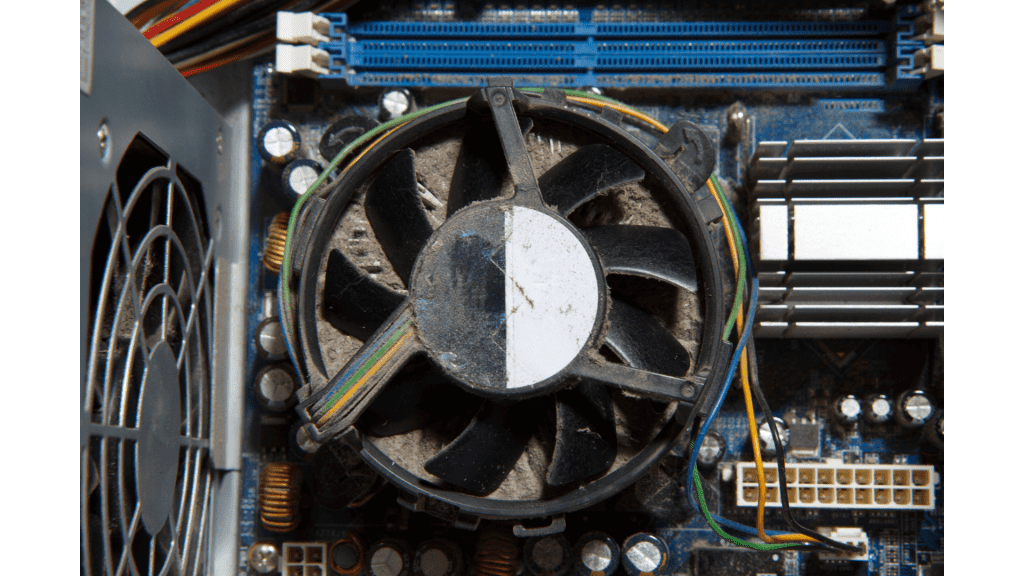
How to Clean a Computer Fans
If your computer is making a lot of noise or is running slowly as it tries to work, the possible cause could be dust buildup. This affects mainly a hardware component living inside of your case, the fan, that will likely need a bit of cleaning up. A simple cleaning process can help improve your … Read more
Latest Product Reviews
-
Creative Sound BlasterX AE-5 Plus Review
Even though onboard audio on motherboards has gotten vastly better over the past several years, if you want more, adding a discrete sound card to your system is necessary. The Sound Blaster AE-5 Plus is a possible option, that comes in two different versions. In this post, I’m reviewing the standard edition, which is black. … Read more
-
MSI Gaming GeForce GTX 1660 Ti Review
In this review, I’ll analyze the fundamental aspects of MSI Gaming GeForce GTX 1660 Ti, focusing, as always, on the technical characteristics, and its price-quality ratio, to get the most truthful opinion. MSI Gaming GeForce GTX 1660 Ti Overview Main features: Architecture (GPU): Turing CUDA Cores: 1536 GPU Boost Rate: 1875 MHz Memory Capacity: 6GB … Read more
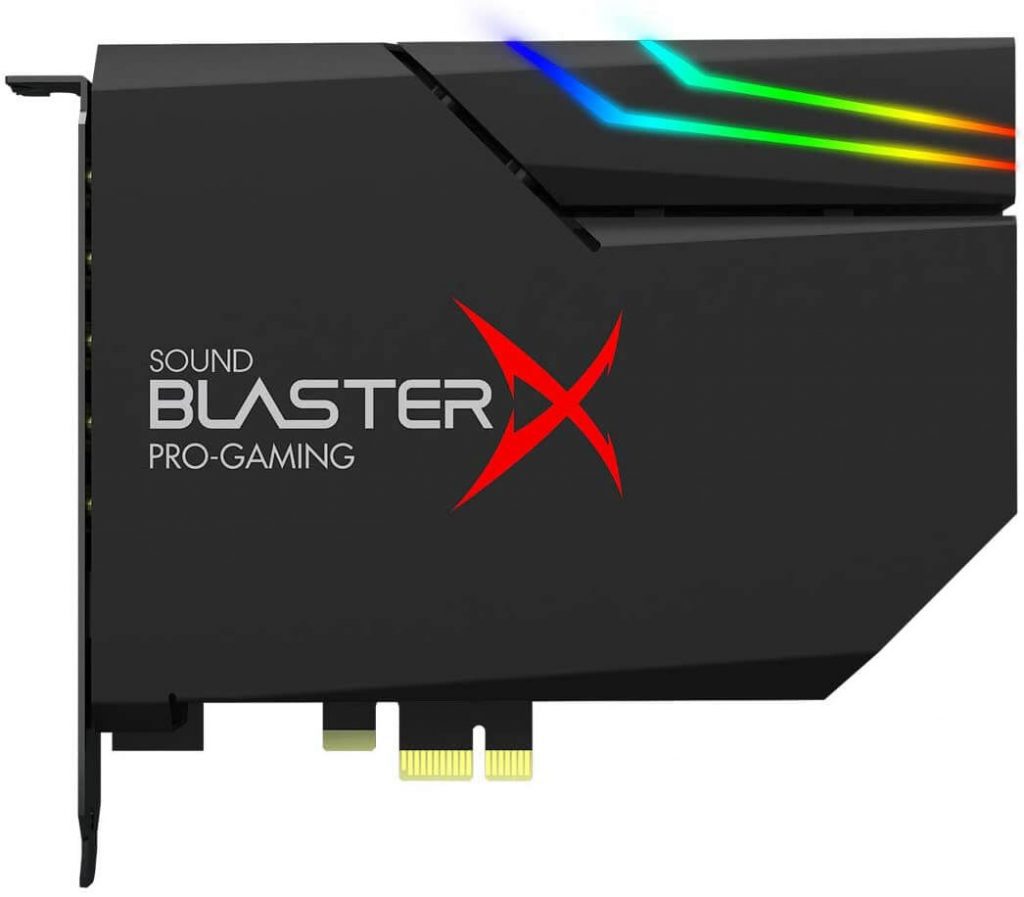
TABLE OF CONTENTS show